Macphun - Luminar
by: Amada Haro
Welcome to Luminar! Exclusively for mac!
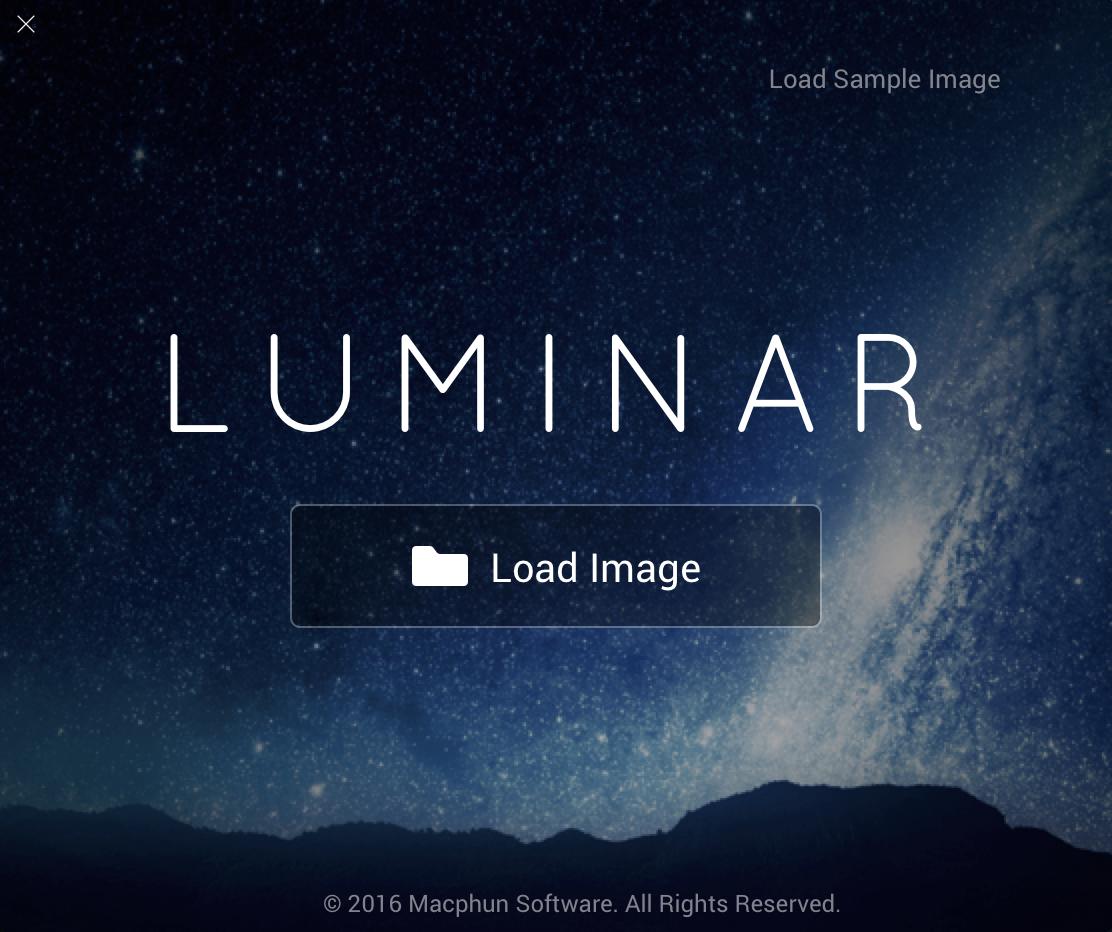
Once you open the application, you are able to load image or even a sample image. This allows you to use some samples to see what the filters can do before you use your own. It will give you some awesome ideas of how to edit your photographs.
Try out the free trial if you are unsure, but I promise you will love everything this application has to offer!
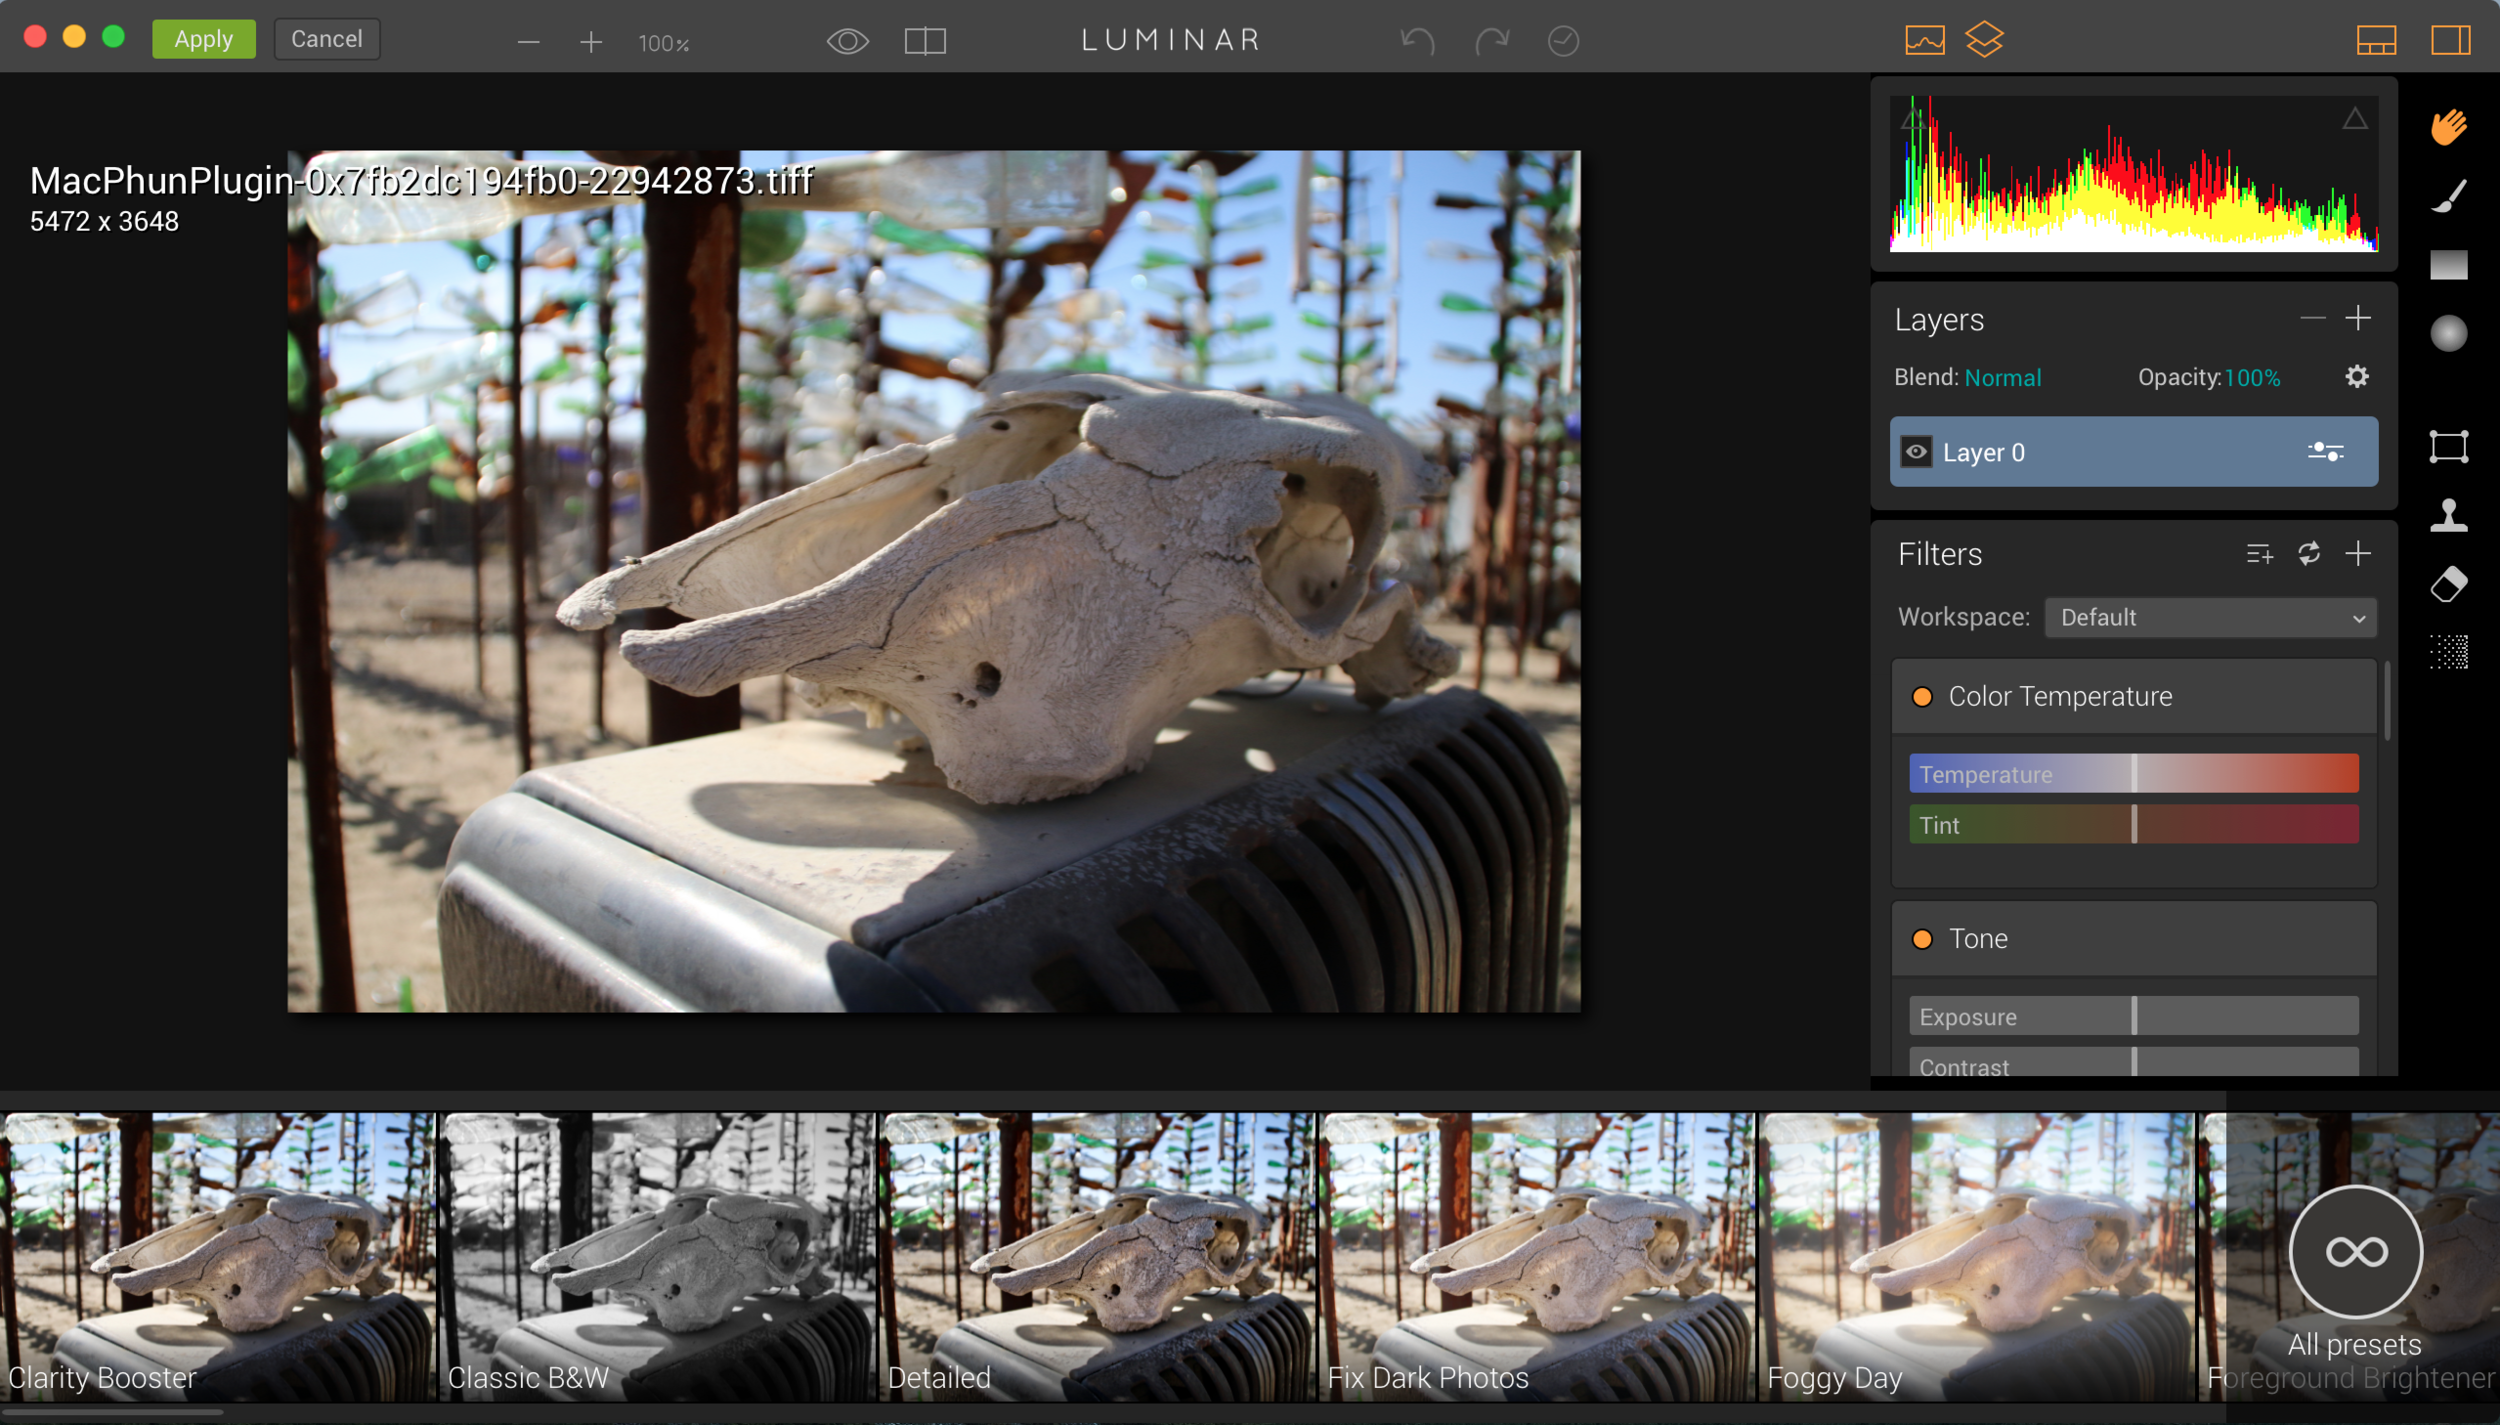
There are couple things I want to show you within the application that only takes a few clicks. On the bottom row of the window, there are previews of each preset that is built in. It shows you a quick look of what your image would look like with that preset, without applying it.
On the top bar, you are able to change the view to show your before and after image. Sometimes its cool to use this view instead of toggling back and forth.

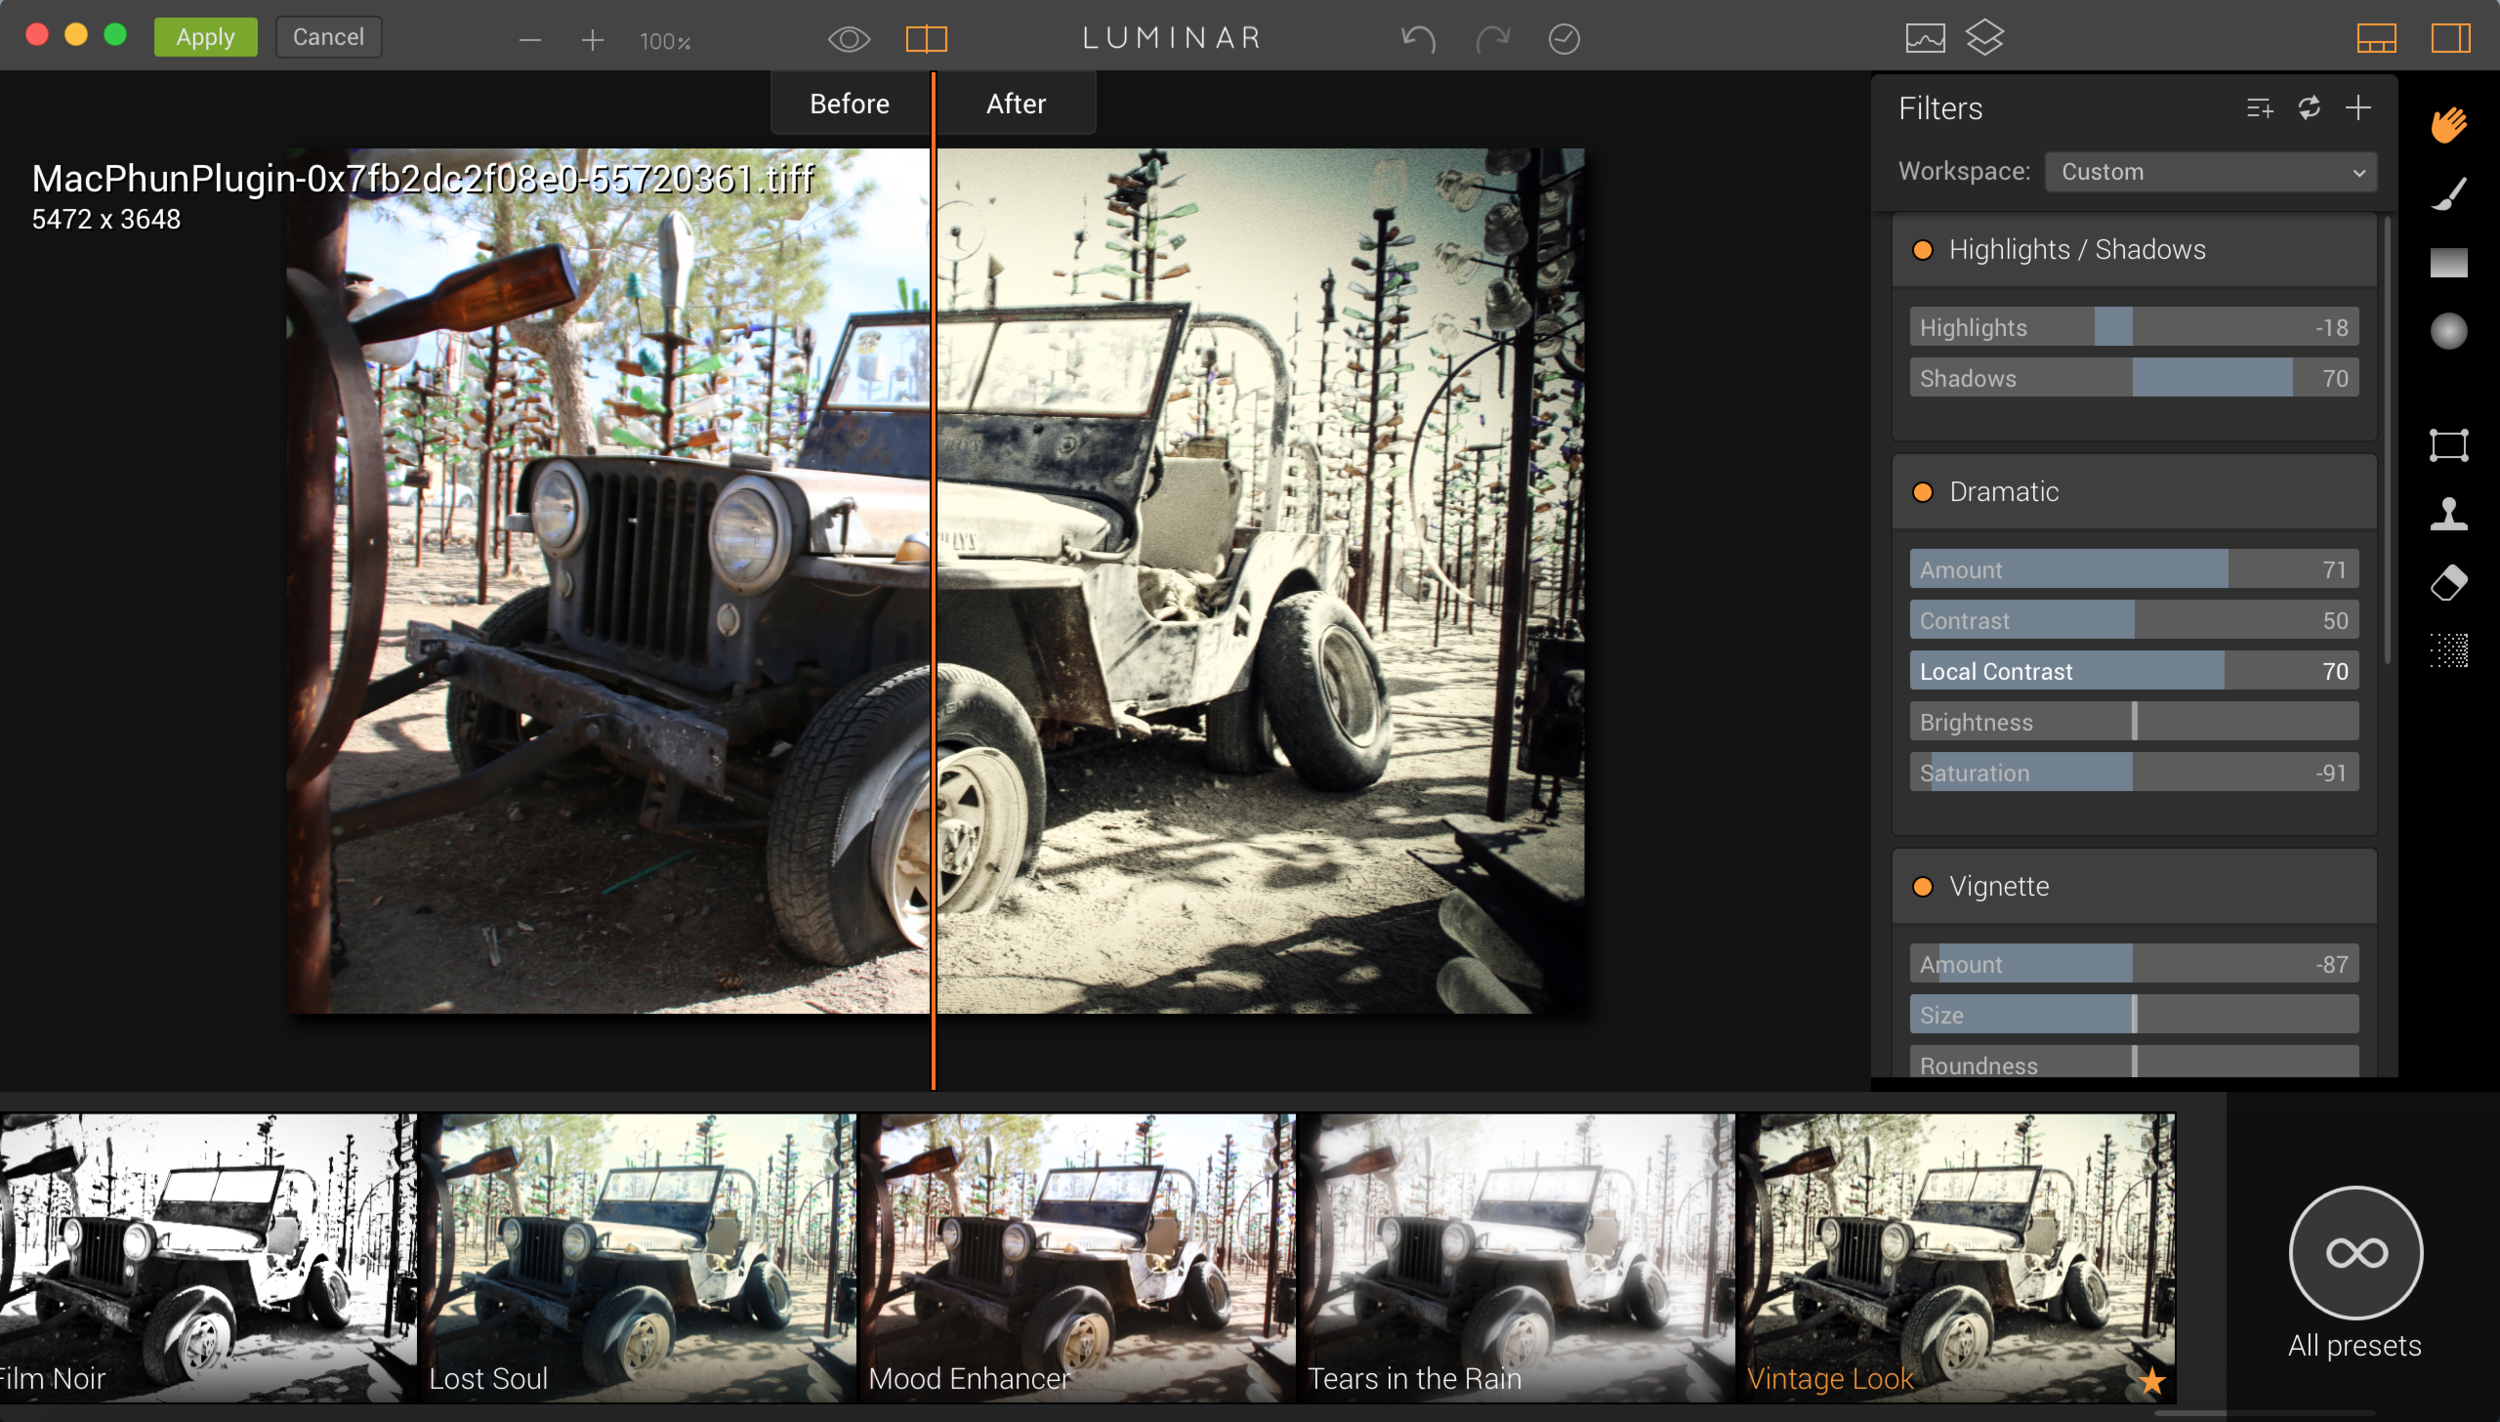
You can even move the orange line to the left and right if you want more than the 50/50 view. I like to get just a little glimpse of what the original colors were and what the filter brings out.

The best part about this application is that you can even customize the filters. Just like in Photoshop, you can edit the Saturation, Exposure, Contrast, almost everything. This panel is on the right side of the window, and you can hide it or make it visible with one click.

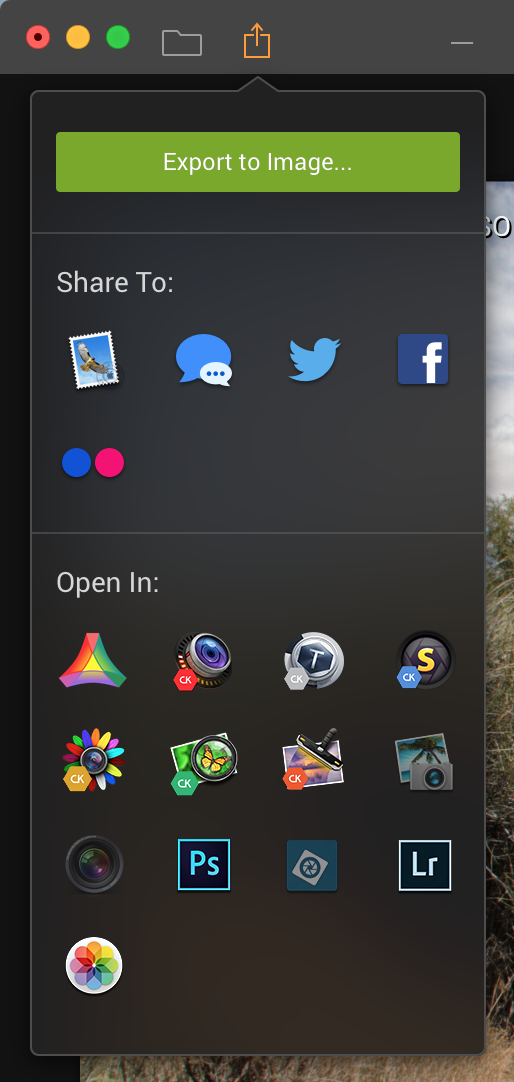
Export your image regular with no other changes after adding the filter. There is even an option to share it straight to your social media platforms with just one click! You can even export it to your favorite image editing software to add those final touches!
Before
After

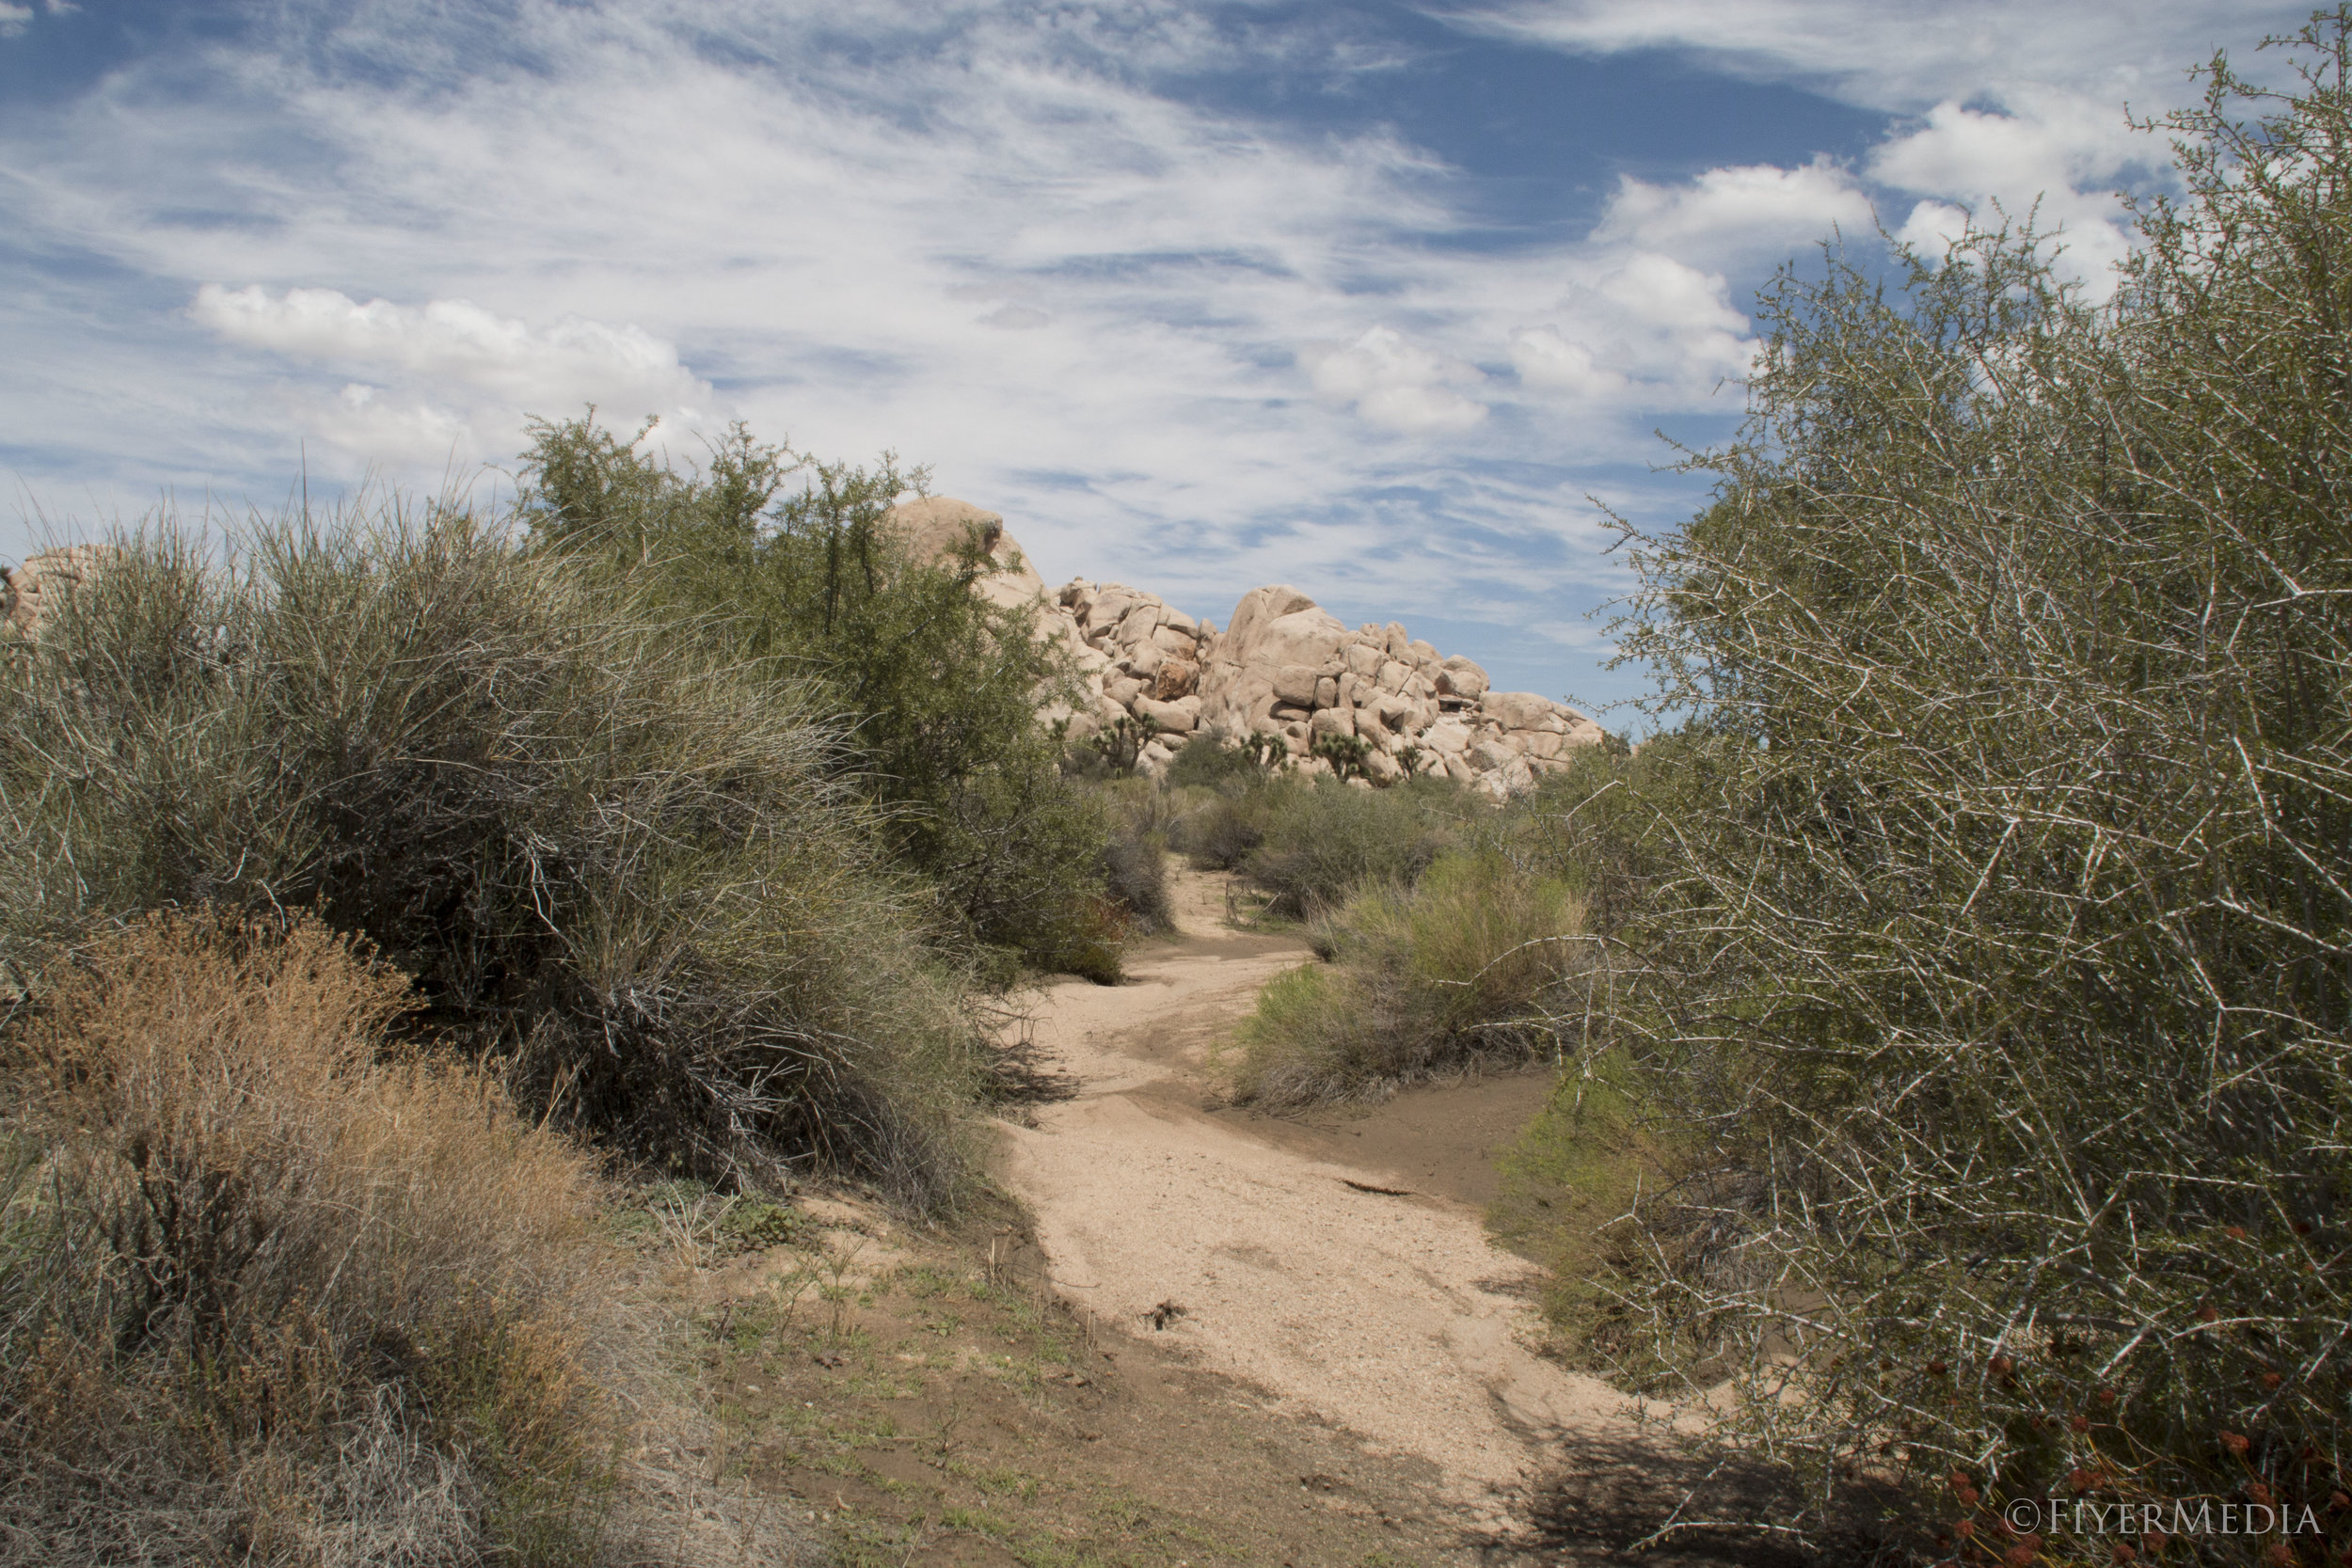
Create images like this with just one click. No more hours of adding layers on top of layers to get that vintage look and feel. This image was edited with Luminar and the vignette was added within the app too!


Click the button below to get your own copy of Luminar and start creating beautiful images! Happy shooting!